Here’s the scenario – you have an on-prem SQL database that you’d like to expose to a number of internet based applications. This could be Windows Azure Reporting Services reports, web applications, Windows Azure based apps, or mobile clients… it’s might even be all of the above. Now, you could make SQL Azure your primary database location, however, chances are you have processes and business apps running on-prem that are accessing (and perhaps generating) the data within this database.
In comes SQL Data Sync – a web service in the Azure platform that allows one-way or bi-directional syncing of on-prem SQL databases, and SQL Azure databases. It also allows SQL Azure <-> SQL Azure syncing. This post provides a step-by-step look at how to get started with the service. For more information, you can also take a look at the Getting Started entry in Books Online.
[warning]SQL Data Sync is currently in a technology Preview state.[/warning]
[warning]This steps and user interface described in this post is current as of 2012-07-03.[/warning]
The first step to using SQL Data Sync is to provision yourself a server. Log into the Windows Azure Platform management portal, and click the Data Sync button on the left hand pane.

In the center of your window, you’ll see the Provision option.

Click on the Provision button to setup your service account. Select your subscription, and the region you’d like to host your hub.
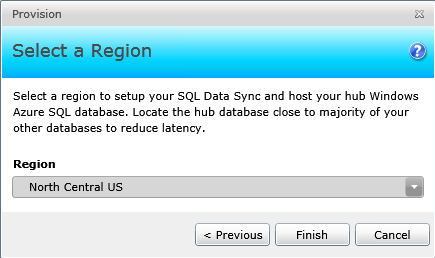
Once you have provisioned the server, you will create your Sync Group.

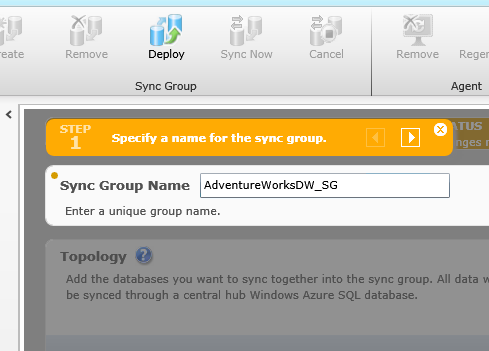
Step 1 is to specify a name for the sync group. In this scenario, I’d like to sync an on-prem AdventureWorksDW database to the cloud, so I’ll name my sync group accordingly.
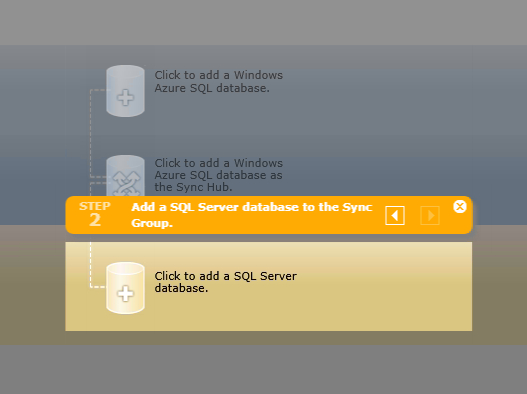
Once you’ve set the name, Step 2 is add a SQL Server database to the sync group.
Since this is the first Sync Group we are creating, we’ll be adding a new SQL Server database to the sync group. The sync direction specifies how the data is being moved:
- Bi-Directional – data flows both ways between the Hub and the client
- Sync to the Hub – data flows to the hub only. The hub acts as a mirror for changes made on the client.
- Sync from the Hub – data flows to the client only. The client acts as a mirror for changes made to the Hub.
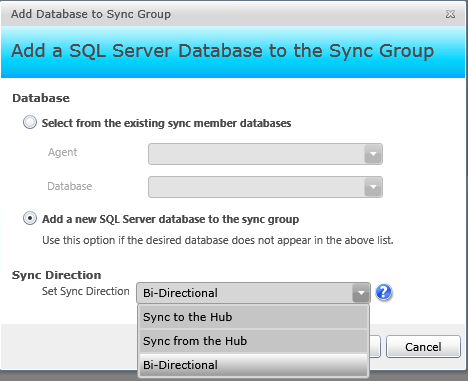
In this scenario, I’d like to mirror my on-prem database to make it available to Cloud applications, so I select “Sync to the Hub”.
On the next page, I need to select a Client Sync Agent. Since I don’t have one already installed, I select the “Install a new Agent” option.
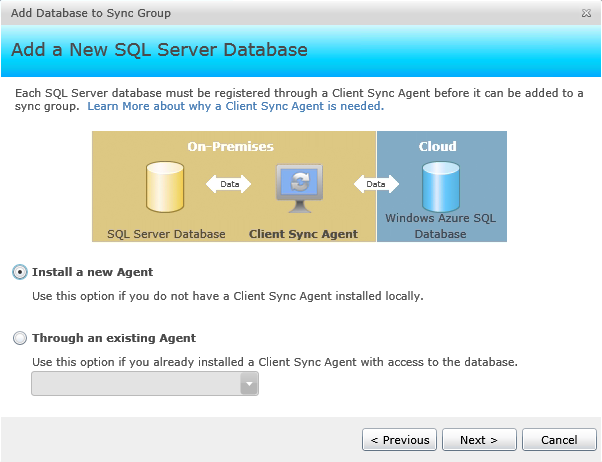
I now download the agent binary to my local machine, enter a name, and generate an Agent Key.
Agent Configuration
Clicking the Download button brings you to a Microsoft.com download page, with the option to download and install the agent msi. During the installation process, you are prompted for an account which has network access. This becomes the account which will run the agent service.
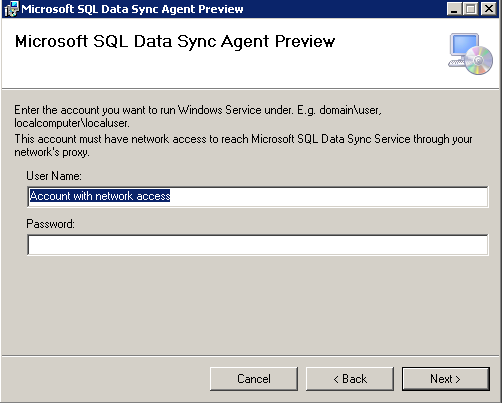
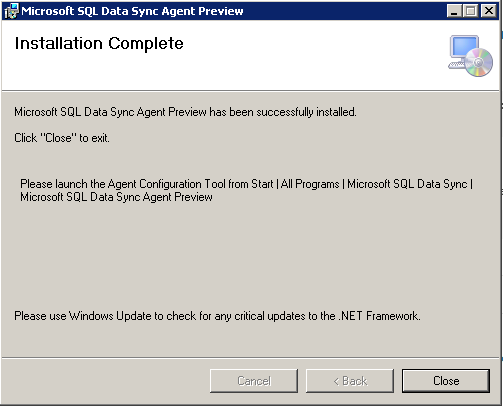
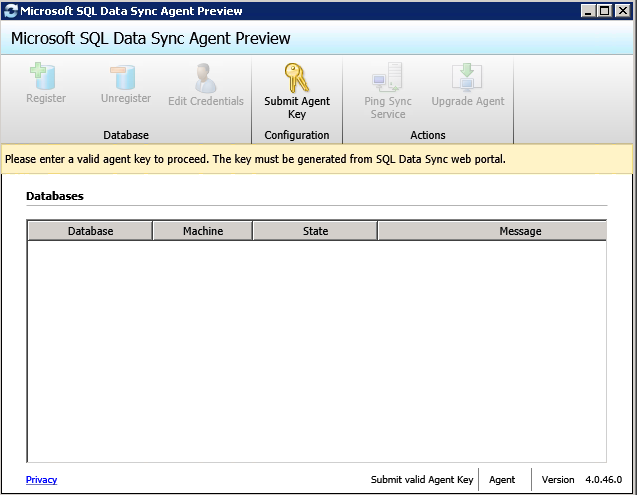
Once the agent is installed, you will see a new “Microsoft SQL Data Sync” service created on your machine. Before you can start syncing, you will need to launch the Agent Configuration Tool (“Microsoft SQL Data Sync Agent Preview”).
Launching the newly installed Agent application brings up the configuration UI.
Back to the Windows Azure Management Portal to generate a key for the agent.
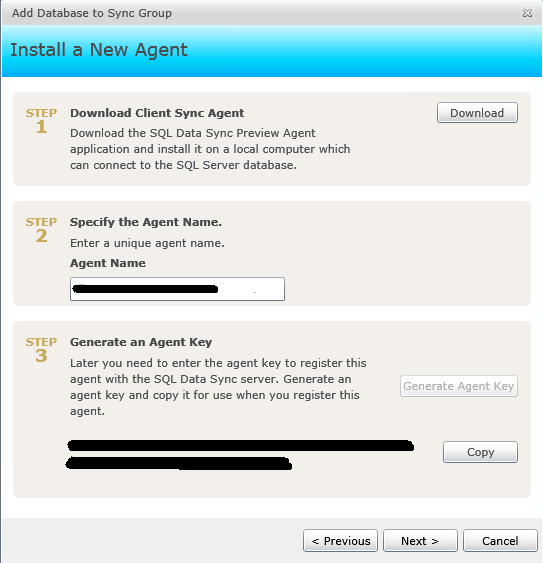
Copy the key from the management portal, and go back to the Agent configuration tool. Click the Submit Agent Key button and enter the key.

Now your Agent is linked to the Sync Group you are creating. We can proceed with making databases available.

Click Register to add a new database. You’ll enter the SQL instance information, and the database name. You have the option of using SQL Authentication (i.e. a user name and password), or to use Windows Authentication and connect to the database using the SQL Data Sync Agent service account.
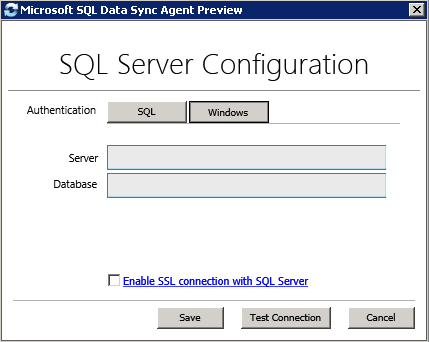
Once a database has been configured, we can go back to the Management Portal.
On the next step, we will add a SQL Server database to our sync group.
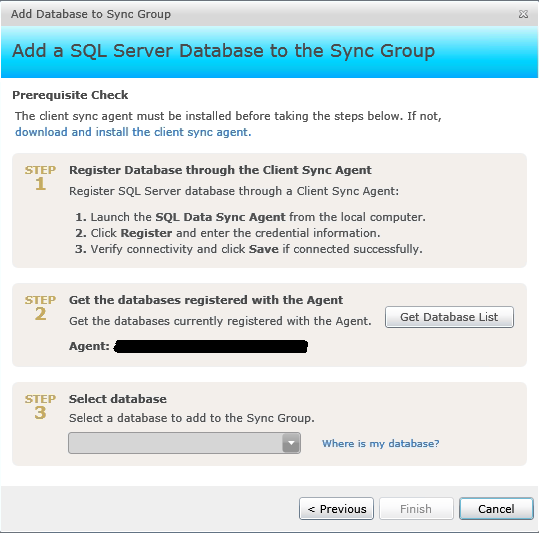
Click the Get Database List button to retrieve the list of databases you registered with the SQL Data Sync Agent. Select your database (in this example I am selecting AdventureWorksDW).
Step 3 will be to configure a Windows Azure SQL Database to use as the Sync Hub.
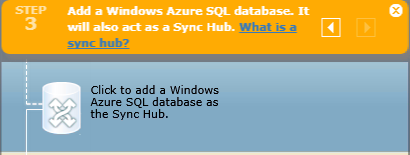
Click the database icon to enter your Windows Azure SQL database information.
Note, for the Test connection to work, I had to enter:
- Fully qualified server name (i.e. <server>.database.windows.net)
- Database name (i.e. AdventureWorksDW_Sync)
- Credentials
- Username without @<server>
- Password
Step 4 is to enter the configuration details.
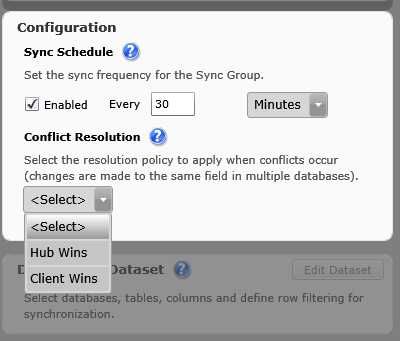
For the configuration, you can specify the sync schedule, as well as the Conflict Resolution if you are doing Bi-directional syncing. In this example, I don’t expect to have any conflicts (as it’s a one way push to SQL Azure), but I’ll select Client Wins.
Step 5 is to define the dataset you will synchronize.

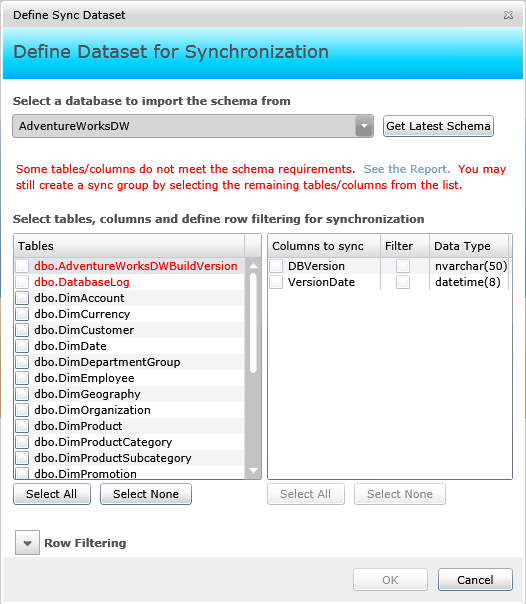
When we select our source database (in this case, the on-prem AdventureWorksDW database), we see that we have some tables that can’t be properly synced to SQL Azure. Clicking on the See the Report link brings up details.
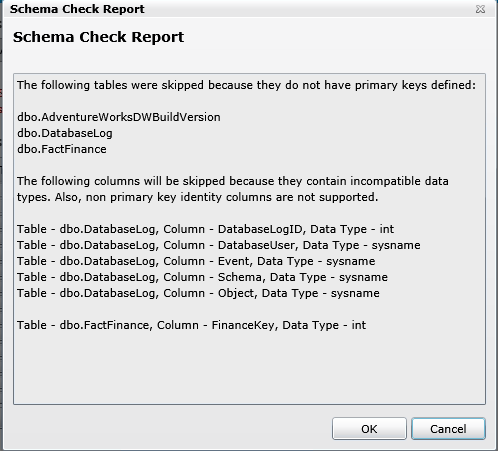
For this example, we can ignore the tables that can’t be synced. Clicking Select All will automatically skip tables with incompatible schemas.
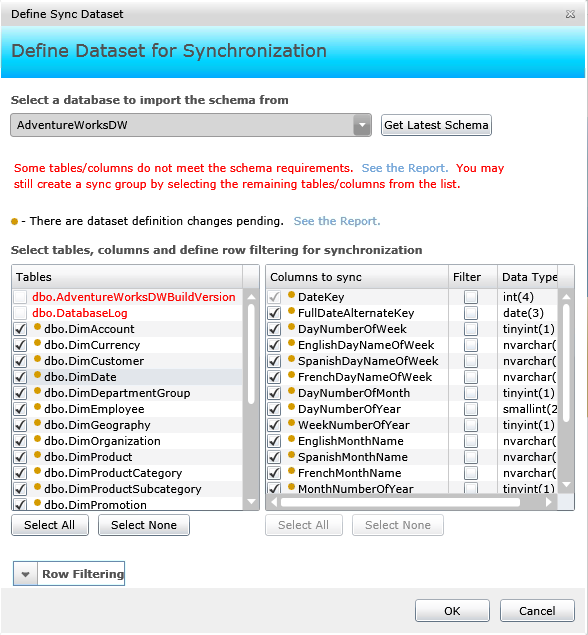
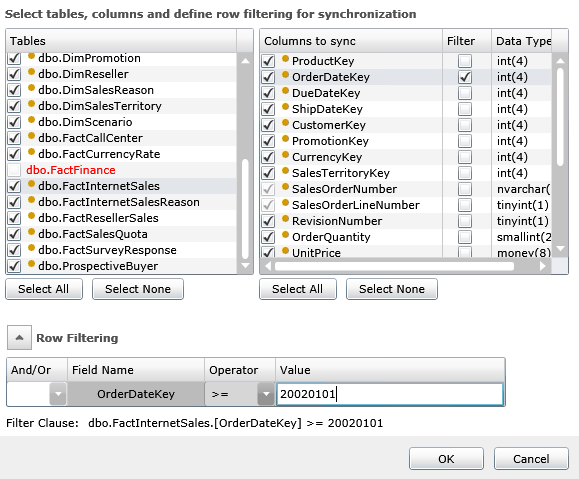
At the bottom of the UI, we can see a Row Filter area. Filtering allows us to sync only certain records… for example, we might want to only sync a single year of data from our fact table. This is essentially adding a WHERE clause to our sync query. To do this, we would select the table we want to filter, and click the Filter checkbox next to the column we are adding the WHERE clause on.
Step 6 is to “Deploy” the changes to the server.

Once you click Deploy, SQL Data Sync completes the configuration of the sync group. The selected schema will be created in your SQL Azure database, and the initial set of data will be moved over.
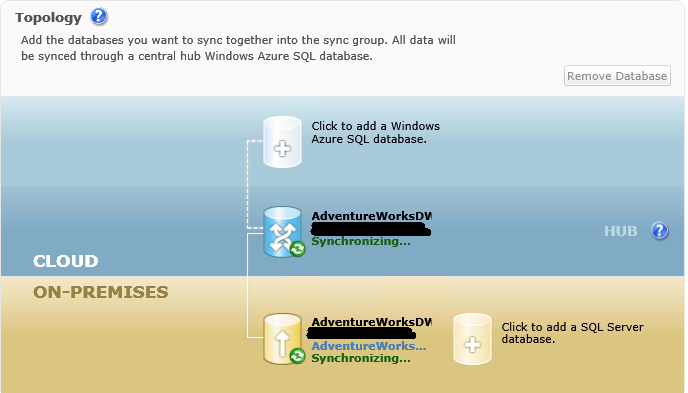
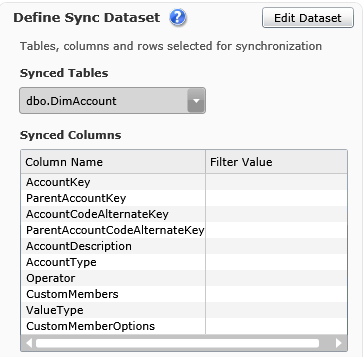
Your newly created Sync Group now appears underneath your Subscription on the left hand side of the Management Portal. On the right, you can see the dataset sync definition, including any filters you’ve defined.
Hi Matt, Thanks for this great post. Steven
Hi,
I have successfully set up a sync between my DBs (both in the cloud) but I can't enable row filtering.
For some reason the 'filter' checkboxes seem to be disabled.
Do you have any idea why this could be and/or how to fix this?
Thanks in advance!
Hi,
I found the solution already. Apparently it is not possible to add/change filters once the sync has been set up.
I created a new sync group and was able to add row filters at initial setup of the dataset.
It would be great though if it would be possible to change the filters once in production.
Cheers!
Hi,
agree with Henry. Changing the filters once in production would help a lot